Maintaining the integrity of your roof is essential for the longevity of your home. One of the most common roofing issues faced by homeowners in Auckland is the buildup of moss. Not only does moss make your roof look unsightly, but it can also cause significant damage if left untreated. In this guide, we will discuss the importance of cleaning moss from roof, provide step-by-step instructions, and offer tips to help you avoid common mistakes.
Moss is a type of non-vascular plant that thrives in damp, shady environments. It typically grows in areas with poor sunlight and high moisture levels. On roofs, moss can grow in the shaded areas, especially on the north side, where sunlight is minimal. Over time, it can spread across the surface, forming thick layers that can lead to significant problems.
In Auckland, the combination of frequent rain and humidity makes roofs particularly vulnerable to moss and lichen growth. These organisms can grow between shingles or tiles, lifting them and potentially causing leaks.
Removing moss from your roof is crucial for several reasons:
Preserves Roof Warranty: Some roof warranties require regular maintenance, including the removal of moss. Failure to comply can void your warranty.
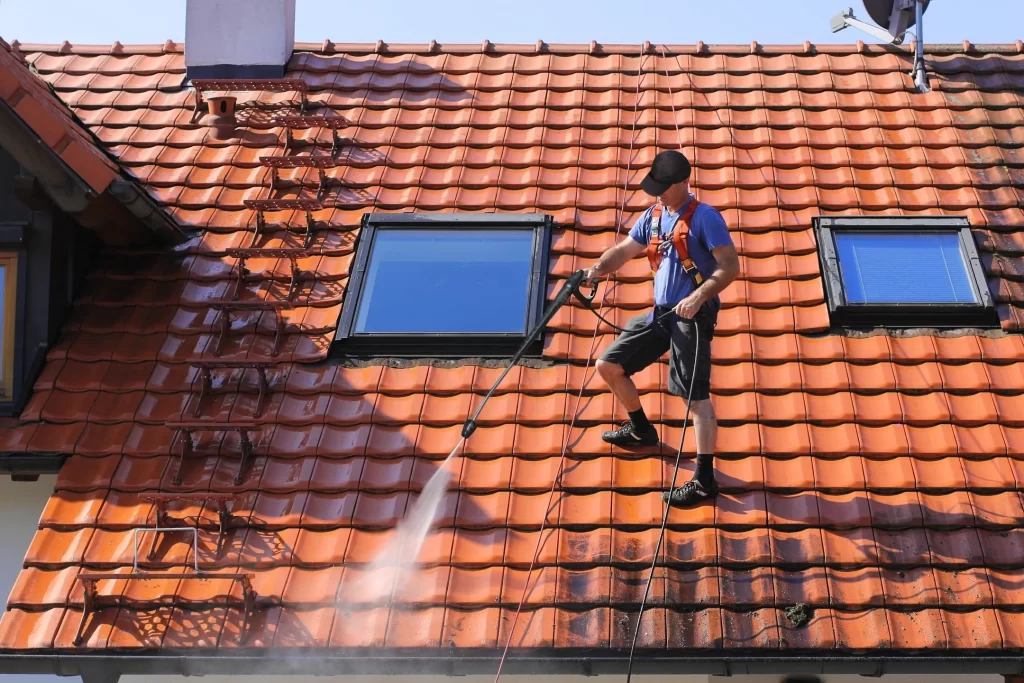
Cleaning moss from roof, involves a few careful steps to ensure both your safety and the effectiveness of the cleaning. Below is a detailed guide:
Before starting, ensure that you have the necessary safety gear. This includes:
If you are not comfortable on a ladder or working at height, it’s always best to hire a professional roofing service.
Using a roof rake with a soft bristle, gently remove the moss from the roof. Start at the bottom and work your way up to avoid pushing the moss deeper into the shingles. Be careful not to damage the shingles while doing this.
Choose a roof-safe moss killer. Many products contain zinc sulfate or potassium salts of fatty acids, which are effective at killing moss without harming your roof. You can find these products at most hardware stores or online. Apply the moss killer following the manufacturer’s instructions. Typically, you’ll need to apply it when the weather is dry, and it may take a few days to see full results.
After the moss has died, rinse the roof thoroughly with a garden hose. Do not use a pressure washer as it can damage the roof shingles. A gentle rinse will help wash away the moss debris and any remaining solution.
Once the roof is clean, inspect the area for any potential damage, such as loose shingles or tiles that may have been lifted by the moss. Replace any damaged shingles to ensure your roof remains watertight.
For more detailed tips on roof maintenance and cleaning services, visit our Roof Cleaning Auckland Page. Our experts can help with regular moss removal to keep your roof in top shape.
For more information on moss removal solutions, check out this detailed external guide from Better Homes & Gardens, which includes comprehensive methods and expert advice on keeping your roof clean and safe.
Cleaning moss from your roof is an essential task that should not be ignored. By following the right techniques, you can prevent damage to your roof, increase its lifespan, and maintain your home’s appearance. Whether you choose to tackle the job yourself or hire a professional, regular moss removal will ensure your roof remains in optimal condition for years to come.
For any additional roof cleaning needs or questions, don’t hesitate to contact our roofing experts in Auckland. Let us help you keep your roof in pristine condition.
At My Homes Roofing Expert, we take pride in delivering top-notch roofing services that combine expertise, reliability, and exceptional customer care.