
Ridge rebedding explained — what the mortar bed does, the rocking-tile test, the rebed process, and how it pairs with repointing.
Tile roof rebedding is the structural half of ridge maintenance — the renewal of the mortar bed that physically holds ridge and hip tiles to the roof. Its diagnostic is beautifully simple: tiles that rock under hand pressure have a failed bed, and no amount of surface pointing fixes what is loose underneath. Auckland's vast 1960s–80s tile stock is hitting bed age in volume, which makes the rocking test one of the most consequential checks in any tile inspection.
This guide covers the when, the how, and the pairing with repointing that completes the ridge system.
When does a tile roof need rebedding?
Direct answer: when ridge tiles move. The signs, in escalating order: mortar chunks in gutters — bed material washing out announces cracking before anything moves; visible misalignment — ridge lines reading stepped or wavy from the street through binoculars, the ground-level check our guides keep recommending; the rocking test — professional hand pressure on each ridge tile during inspection, the definitive call; and tiles displaced or lost in wind — the failure announcing itself the expensive way. The distinction from repointing matters because it decides scope and money: cracked pointing faces over a sound bed take the flexible repointing our repointing cost guide prices; rocking tiles take rebedding first, then pointing — and pointing sold over a failed bed is the cosmetic shortcut our cowboy roofer guide warns against. The inspection that sorts one from the other is free: book it before any ridge money moves.
In short
Rocking tiles mean rebedding; cracked faces over firm tiles mean repointing; and the full renewal — rebed plus flexible point — is the ridge system done properly, typically priced together. Mortar debris in the gutters is the early warning worth acting on.
The rebedding process — what a proper job involves
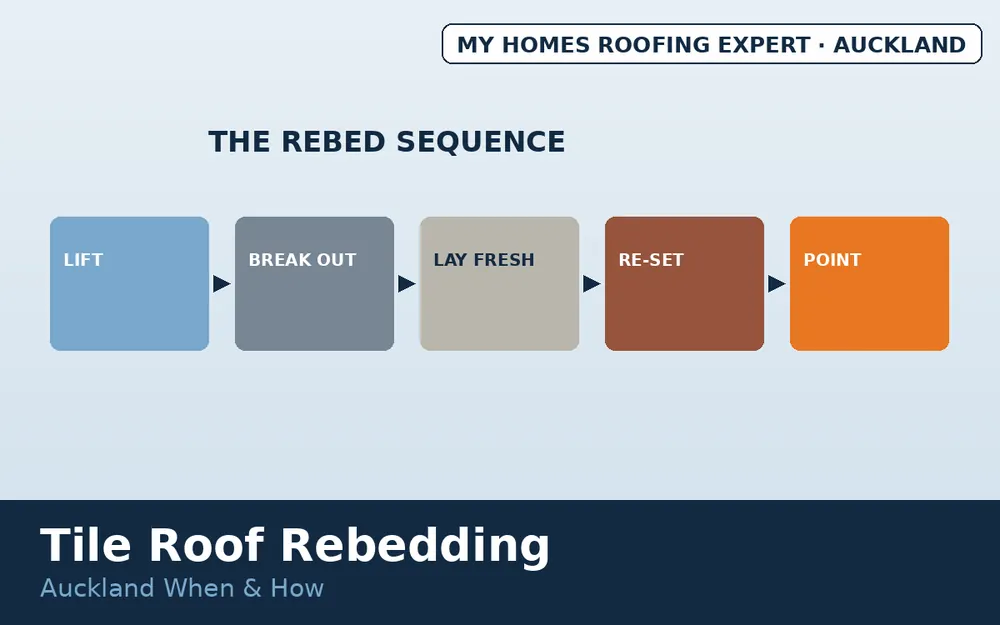
The sequence on a professional rebed: lift and set aside — ridge and hip tiles removed carefully and stacked, with cracked units counted for replacement (matching via the salvage networks our tile matching guide maps); break out the old bed — failed mortar cleared back to clean tile and batten, the stage that distinguishes rebedding from smearing; prepare and lay — fresh bedding mortar to consistent line and height, the craft that sets ridge geometry for the next several decades; re-set true — tiles bedded straight, the streetscape line restored; point flexible — modern flexible compound over the cured bed, the movement-tolerant face our repointing guide details; and clear the evidence — mortar debris off the roof and out of the spouting, since rebed debris is a classic blockage source the gutter guides see downstream. Weather windows matter — beds want curing conditions — and photographs before, during, and after are the documentation standard worth requiring.
Rebedding inside the bigger tile picture
Ridge work rarely travels alone: restoration pairing — rebed and repoint are standard chapters of the full tile restoration, sequenced before cleaning and coating so the new pointing weathers in with the renewed surface; broken-tile rounds — the lift-and-reset gives the field tiles a professional once-over, and cracked units swap economically while access is up; age honesty — beds failing on porous, drinking tiles raise the restoration-versus-replacement question our tile aging guide frames, because new mortar on end-of-life tiles is sequencing money badly; and the seismic footnote — heavy ridge tiles on failed beds are the roof's loosest objects in a shake, one more reason the rocking test earns its place in the post-quake checks our earthquake guide lists.
Cost, risk, and safety factors
Rebed pricing runs above pointing-only work — it is substantially more labour — with the combined rebed-and-point packages priced per ridge metre in the ranges the repointing guide maps. Risks are the trade's honest pair: cosmetic smears sold as rebeds, and the standing tile-roof rule — fragile, slippery, professional-only underfoot, with the homeowner's rocking test performed by proxy through a booked inspection rather than a personal climb.
Get your ridges tested in Auckland
My Homes Roofing Expert tests, rebeds, and points tile ridges across Auckland — rocking tiles found honestly, beds renewed properly, debris cleared completely. Call 022 501 9921 or visit tile roofing Auckland.
Frequently asked questions
When is rebedding needed?
When ridge tiles rock under hand pressure — the bed beneath has failed, and pointing alone cannot fix it.
Bed vs pointing?
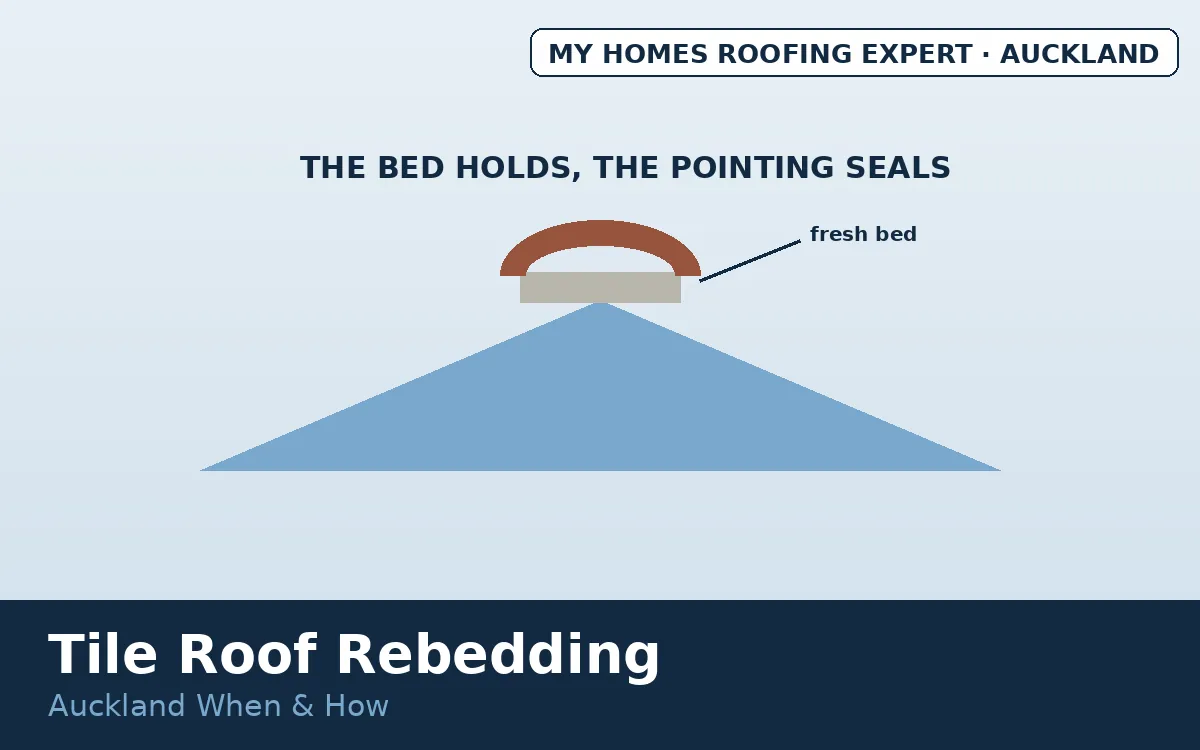
The bed holds, the pointing seals — failed beds rebed first, then point.
What does the process involve?
Lift, break out old mortar, replace cracked tiles, lay fresh bed, re-set true, point flexible, clear debris.
Why do beds fail?
Decades of thermal movement, weather in the cracks, and mortar simply serving its term.
Sectional rebedding possible?
Where failure is genuinely local, yes — widespread rocking means whole-ridge work.
Topics covered
- ridge rebedding NZ
- loose ridge tiles
- tile roof maintenance Auckland
- mortar bed ridge
- rebed and repoint