
The lead-head era explained — why old roof nails pop and leak, the screw conversion that fixes it, and what re-fixing a roof involves.
Lead head nail replacement is the single highest-leverage upgrade available to Auckland's older corrugate roofs: the original nails — steel shanks under dressed lead caps, the proud technology of their era — have spent decades being worked loose by thermal cycling, and a roof of popped, weeping, wind-levered nails converts in a day or two to modern class-rated screws that reset its grip for decades. Few jobs in roofing buy as much storm-readiness per dollar.
The symptom is unmistakable from the lawn: raised silver dots marching along the fixing lines, each one a loosened shank, an opened seal, and a place the next gale will test.
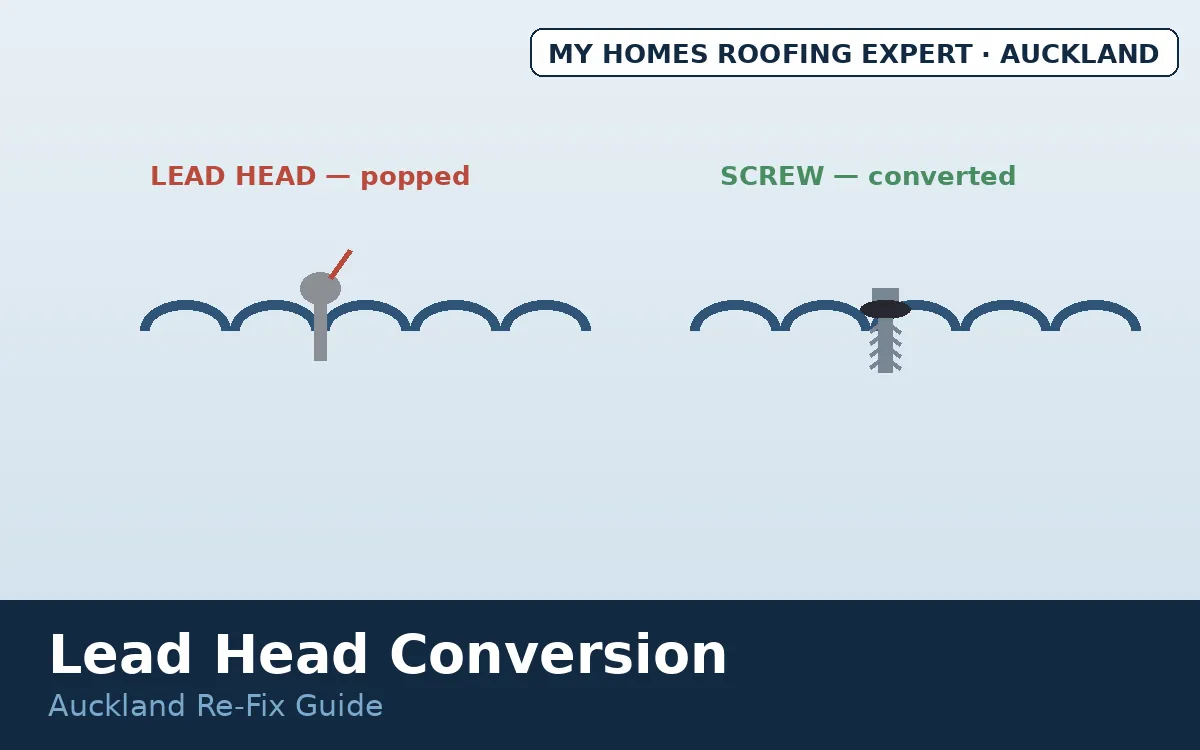
Why do lead head nails need replacing?
Direct answer: the grip is gone and the seal with it. The mechanics: corrugate expands and contracts daily, and over decades that movement ratchets driven nails outward — millimetre by millimetre, the withdrawal physics our fixings guide explains as thread's whole advantage; lifted heads break the lead-to-sheet seal, making every fixing a capillary leak point that announces itself in driven rain; loose sheets gain the flutter and leverage that the wind-lift sequence begins with; and the lead caps themselves split and weather, finishing the seal the lifting started. The era context matters too: lead-head roofs predate modern wind-zone fixing schedules, so conversion is not just renewal — it is the upgrade to current pattern density, the screws-where-the-zone-demands logic that turns an old roof storm-current.
In short
Popped silver heads along the fixing lines mean the conversion is due: nails out, class-rated sealing-washer screws in, pattern brought to wind-zone schedule — a day or two of contained work that removes a leak source and an uplift weakness simultaneously. Pair it with a repaint where timing allows; do it on its own schedule where the symptoms say so.
The conversion process — what re-fixing involves
The professional sequence: line-by-line withdrawal — old nails pulled cleanly, the lead caps collected for proper disposal (a crew-handled discipline, and one less material on the roof for the tank-water ledger); hole triage — most penetrations re-fix directly, the screw's larger diameter biting fresh thread; enlarged, rusted, or torn holes take oversized screws or load-spreading solutions, and the occasional sheet too far gone at its fixing lines joins the sheet replacement count; purlin check — withdrawal resistance reads the timber below, flagging the soft purlins that want attention while access is up; modern screws to pattern — corrosion class matched to the address (the coastal logic of the exposure guide applied to fasteners), sealing washers seating to specification, density to the wind-zone schedule; and the sweep — magnet work for dropped fixings, because old nails in lawns find feet and tyres reliably.
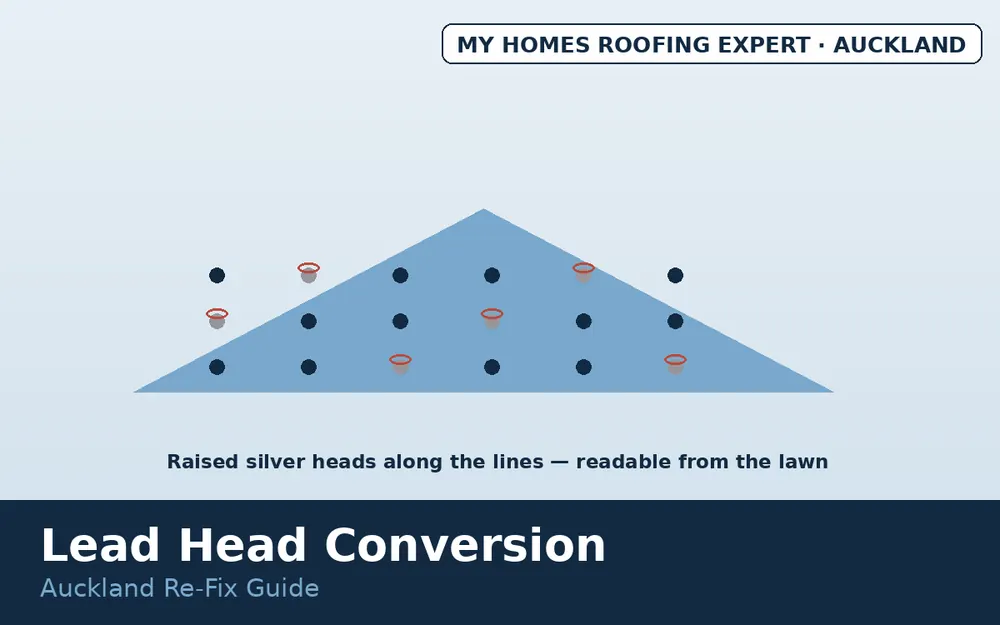
Sequencing the conversion with everything else
Re-fixing slots into the older roof's maintenance arc with friendly logic: before repainting is the ideal pairing — new fixings under the coating system, heads painted in, the sequencing our pre-paint repairs guide formalises; with rust treatment, since fixing lines and rust stages travel together per the rust guide, and one access setup serves both; ahead of storm season, where the prep calendar ranks loose fixings among the cheapest pre-front fixes; and standalone when symptomatic — popped heads leak and lift now, and waiting for a convenient pairing while a gale forecast builds is sequencing backwards. The roof that probably should not convert: one whose sheets are themselves at end of life, where the re-fix money belongs in the re-roofing conversation instead — the staging honesty every fixing quote should open with.
Cost, risk, and timing factors
Conversion pricing is contained — fixings are cheap, the labour is the day or two of methodical line work, and access per the roof's height and pitch — sitting among the best value lines in roof repair. Risks are the usual pair: conversions sold onto end-of-life sheets, and the DIY temptation a roof full of proud nail heads extends — resisted, as ever, because fixing-line work is edge-to-ridge height work and the symptom reads perfectly well from the lawn.
Convert the old fixings in Auckland
My Homes Roofing Expert re-fixes lead-head roofs across Auckland — holes triaged, screws classed and patterned to zone, lead handled properly, lawns swept. Call 022 501 9921 or book a free inspection.
Frequently asked questions
Why replace lead head nails?
Decades of thermal cycling loosen the shanks — popped heads leak and give wind its leverage.
What are lead heads?
The earlier era's fixing — steel nails under dressed lead caps, honourable then, aged out now.
What does re-fixing involve?
Nails out line by line, holes triaged, class-rated screws to wind-zone pattern — a day or two on most homes.
Is the lead a worry?
A crew handling discipline — collected and disposed of properly, and gone from the roof thereafter.
Wait for the repaint?
Pair where timing allows; convert on symptoms regardless — popped nails leak now.
Topics covered
- re-screwing roof NZ
- old roof nails popped
- roof fixing upgrade Auckland
- lead head nails leaking
- roof nail conversion