
The inspection walkthrough — what gets checked, how long it takes, what the report contains, and how to read the recommendations.
Roof inspection what to expect questions deserve a concrete answer, because the inspection is roofing's most leveraged hour: every staging call in every guide on this site — rust ladders, rocking ridges, washer clocks, fall failures — resolves through it. The professional version is systematic, photographed, and explained: a zone-by-zone walk of surface, junctions, drainage, and cavity, findings staged honestly, and a report that turns your roof's condition into decisions you can actually make.
This guide walks the walk in advance — what gets checked, how long it takes, and how to read what comes back.
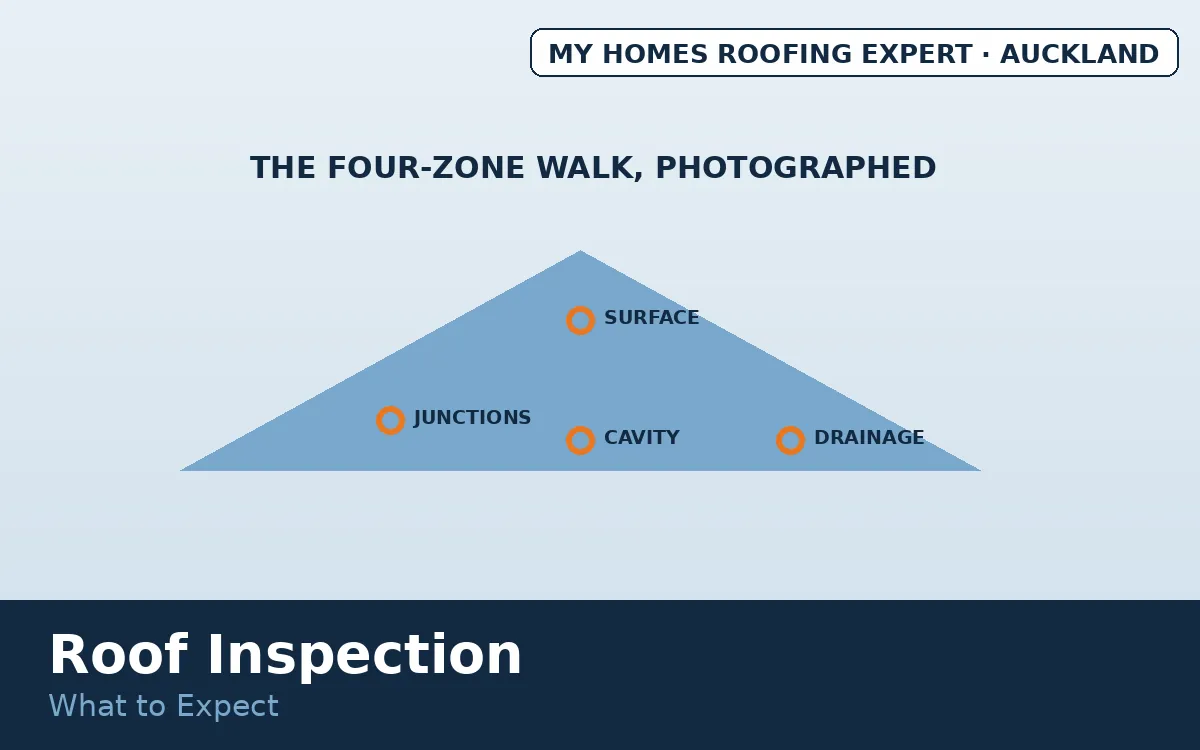
What happens during a roof inspection?
Direct answer: a four-zone systematic walk, photographed throughout. The zones: surface — coating condition staged (the chalk-freckle-patch ladder of our rust guide on steel; porosity and surface state per the tile aging guide on masonry), fixings and washers read against their aging clocks, laps and profile condition checked; junctions — every flashing walked per the flashing families, pipe boots aged, ridges hand-tested for the rocking that calls rebedding, valleys and penetrations examined; drainage — gutters for fall, rust line, and joint condition, downpipes flow-checked, overflow paths confirmed; and cavity, where the hatch allows — underlay condition, moisture signs per the cavity guide, framing state, and insulation coverage. Interior leak history and ceiling staining join the evidence where you can share them — the diagnostic value that makes being home worthwhile.
In short
Expect 45 minutes to two hours of methodical walking, photographs at every finding, a same-day verbal walkthrough, and a written report staging everything as urgent, plan, or monitor — with the healthy zones stated as healthy. The ten-minute glance is a quote wearing an inspection's name. Noticed something before booking? Our roof damage warning signs guide lists exactly what to check from the ground first.
The report — and how to read its recommendations
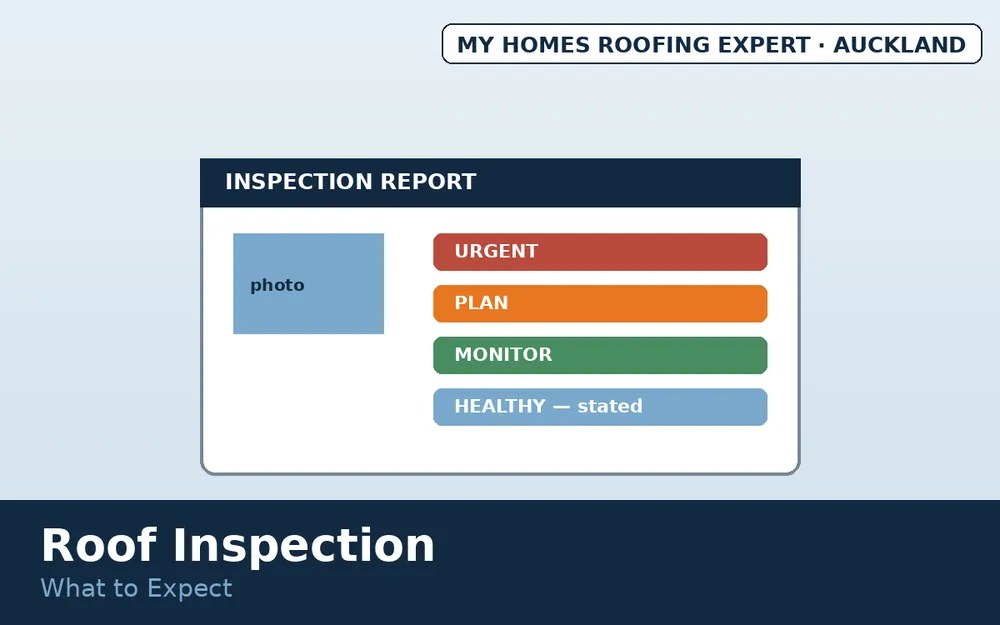
The document that follows carries the inspection's value: located photographs — every finding pictured and placed, the evidence standard that separates assessment from assertion; honest staging — urgent (active leaks, storm vulnerabilities, safety items), plan (the recoat windows, fixing conversions, and ridge work with months of runway), and monitor (the aging-normally zones revisited next cycle); budget indications — ranges attached to recommendations, feeding the cost guides across this site rather than ambushing you; and the fine print that isn't — what is healthy, stated plainly, because a report's credibility lives in what it declines to sell. Reading defensively: blanket urgency without photographs is the cowboy pattern; recommendations that happen to match the inspector's most profitable service deserve the second-opinion habit; and large calls — restoration versus replacement, the fork our cost guide prices — justify a second set of eyes as standard practice, which reputable inspectors welcome rather than resent.
When inspections earn their booking
The trigger list: the calendar — annual or biennial cycles per the maintenance plan logic, anchored before storm season; the event — post-storm and post-quake checks, the damage that ground viewing misses; the symptom — stains, drips, debris in gutters, popped fixings, anything the binocular habit surfaces; the transaction — pre-purchase reports per our pre-purchase guide, where the inspection prices into the negotiation; and the project gate — before painting, restoration, solar, or insulation money moves, since every one of those spends assumes a roof condition the inspection verifies. The free-inspection model serves the symptom and project cases legitimately — it is a quoting tool with the abuse pattern the FAQ flags — and the protections (photos, staging, second opinions) keep it honest.
Cost, risk, and preparation factors
Pricing: quote-linked inspections commonly free; standalone documented reports (pre-purchase, insurance, body corporate) priced per the pre-purchase guide. Your preparation is light: hatch access cleared, leak history recalled, ceiling stains pointed out, and questions saved for the walkthrough. The risk ledger is the reading-defensively list above — and the standing inversion: the inspector climbs so you never do, which is the whole arrangement working as designed.
Book the leveraged hour in Auckland
My Homes Roofing Expert inspects across Auckland — four zones walked, findings photographed and staged, healthy zones called healthy. Call 022 501 9921 or book your inspection.
Frequently asked questions
What happens on the day?
A photographed four-zone walk — surface, junctions, drainage, cavity — with findings explained before the report lands.
How long does it take?
45 minutes to two hours residentially — the checklist takes what it takes.
Should I be home?
Ideally — leak history, ceiling stains, and the hatch all add diagnostic value.
What should the report contain?
Located photos, honest staging, budget ranges — and the healthy zones stated as healthy.
Are free inspections a trick?
A legitimate tool with a known abuse pattern — photos, staging, and second opinions keep it honest.
Topics covered
- roof check process NZ
- roof inspection checklist
- free roof inspection Auckland
- roof condition report
- roof assessment visit